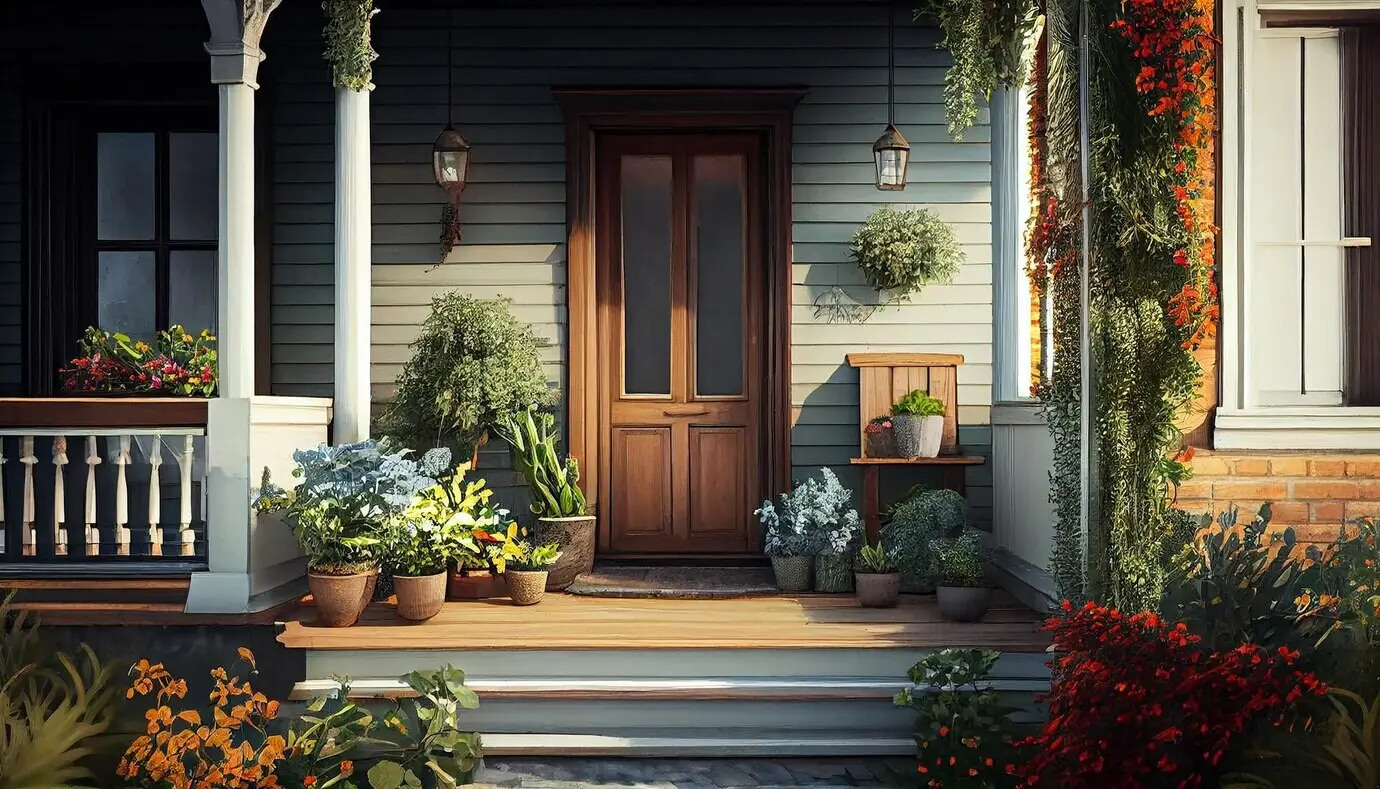
Sheltering the Threshold: Designing Entry Zones That Defy Weather
Reading the Climate, Shaping the Edge
Microclimate Mapping for Your Doorway
Spend a week noting wind direction, puddle locations, wall streaks, and icicle formations. Photograph storms, chalk outlines of splash zones, and drop marbles to read slope. Listen for whistles at different hours. A simple windsock or ribbon taped to the jamb reveals eddies that big forecasts miss. These small observations direct overhang depth, screen placement, and drain alignment with surprising precision, ensuring you solve real problems rather than guesses inspired by glossy catalog photos.
Human Comfort Metrics at the Threshold
Comfort is not only temperature; it is also radiant exchange, air speed, wetness, and time spent fiddling with keys. A shallow canopy that blocks wind at face height can feel warmer than a deeper one that ignores drafts at ankle level. Reduce exposure time, cut wind speed, and keep surfaces dry to boost perceived warmth dramatically. Borrow simple comfort checks: if your glasses fog or your sleeve drips within ten seconds, refine sheltering until those moments vanish.
Common Pitfalls When the Weather Wins
Typical errors include proud thresholds that trap slush, gutters discharging right beside the mat, overhangs with no drip groove staining walls, and solid wind walls that create dangerous swirling gusts. Another frequent mistake is ignoring low winter sun, which sneaks under canopies and melts snow unevenly, refreezing at night. Diagnose by cause, not symptom: puddles usually mean grade or discharge issues, not bigger mats. Start with path of water, path of wind, then refine materials and details.
Overhangs That Work Harder Than They Look
Windbreaks With Purpose, Not Bulk

Positioning Screens Using Wind Roses
Study seasonal wind roses, then model simple angles with cardboard mockups or lattice panels on a breezy day. Place the screen where the wind starts bending, not where it already punishes the door. Offset the entrance opening from direct wind paths, creating a dogleg that slows air without trapping snow. Keep emergency egress clear and sightlines friendly. Small rotations—five or ten degrees—often outperform massive fences. Observe leaves, flags, and even drifting snow to confirm that the stream has softened.
Planting as a Permeable Shield
Study seasonal wind roses, then model simple angles with cardboard mockups or lattice panels on a breezy day. Place the screen where the wind starts bending, not where it already punishes the door. Offset the entrance opening from direct wind paths, creating a dogleg that slows air without trapping snow. Keep emergency egress clear and sightlines friendly. Small rotations—five or ten degrees—often outperform massive fences. Observe leaves, flags, and even drifting snow to confirm that the stream has softened.
Transparent Versus Solid Panels
Study seasonal wind roses, then model simple angles with cardboard mockups or lattice panels on a breezy day. Place the screen where the wind starts bending, not where it already punishes the door. Offset the entrance opening from direct wind paths, creating a dogleg that slows air without trapping snow. Keep emergency egress clear and sightlines friendly. Small rotations—five or ten degrees—often outperform massive fences. Observe leaves, flags, and even drifting snow to confirm that the stream has softened.
Drainage That Keeps Feet Dry and Floors Safe
Comfort, Safety, and Accessibility, Seamlessly Integrated
Light the Welcome Without Glare
Surfaces That Grip in Rain and Frost
Inclusive Movement Through Changing Weather
From Sketch to Weekend Upgrade: Actionable Pathways
One‑Hour Fixes With Outsized Impact
Add a drip edge tape beneath an existing sill to stop annoying streaks. Reposition a doormat to the dry zone identified by hose testing. Zip‑tie a temporary lattice upwind to feel wind reduction instantly. Redirect a downspout with a flexible leader away from the walking path. Swap a glaring bulb for a shielded, warmer LED under the canopy. None of these require permits, yet each one teaches about your entry’s behavior and points to smarter permanent improvements.
A Two‑Day Mini‑Renovation Plan
Add a drip edge tape beneath an existing sill to stop annoying streaks. Reposition a doormat to the dry zone identified by hose testing. Zip‑tie a temporary lattice upwind to feel wind reduction instantly. Redirect a downspout with a flexible leader away from the walking path. Swap a glaring bulb for a shielded, warmer LED under the canopy. None of these require permits, yet each one teaches about your entry’s behavior and points to smarter permanent improvements.
Tracking Results and Joining the Conversation
Add a drip edge tape beneath an existing sill to stop annoying streaks. Reposition a doormat to the dry zone identified by hose testing. Zip‑tie a temporary lattice upwind to feel wind reduction instantly. Redirect a downspout with a flexible leader away from the walking path. Swap a glaring bulb for a shielded, warmer LED under the canopy. None of these require permits, yet each one teaches about your entry’s behavior and points to smarter permanent improvements.